Introduction
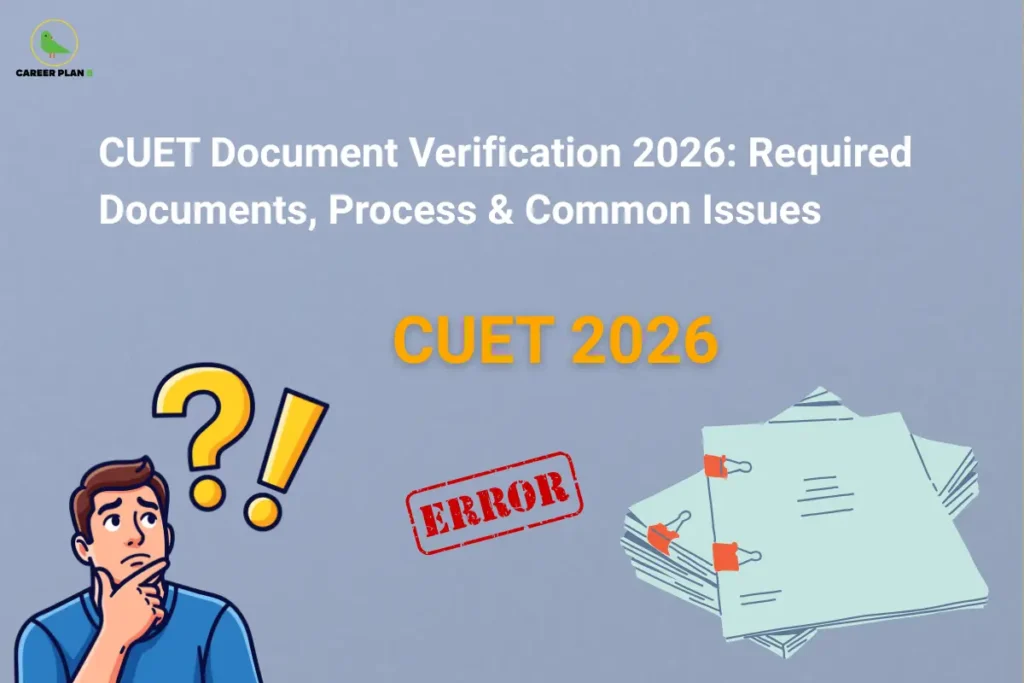
You’ve cracked the CUET exam. The scorecard is in your hand. And just when you think the hard part is over — someone mentions document verification. Suddenly, a new kind of stress kicks in. Did I get the right certificates? Are my photocopies attested? Is my category certificate in the correct format? If these questions sound familiar, you’re definitely not alone. Every year, thousands of students who clear CUET document verification end up losing their seat — not because of their scores, but because of paperwork. That’s honestly one of the most frustrating things that can happen after months of preparation.
This blog is your go-to guide for everything related to CUET document verification in 2026. We’re going to walk you through the complete documents required for CUET admission, how the CUET DV process works step by step, what format your documents need to be in, and the most common reasons students get rejected — so you don’t have to learn the hard way. Let’s get into it.
What Exactly Is CUET Document Verification?
Think of CUET document verification as the final checkpoint before you officially become a student of your chosen university. You’ve done the hard work — studied, appeared for the exam, checked your result. But universities need to confirm that everything you filled in your application form is actually true. That’s what document verification is for.
The CUET DV process typically takes place after the CUET results are declared and during the counselling or admission round conducted by individual universities. It’s the stage where the university (or a centralised body, depending on the institution) physically or digitally cross-checks your original documents against what you submitted online. Some universities conduct this in person on campus; others have moved to an online portal-based system. Either way, if your documents aren’t in order, your admission can be cancelled — even if your score is excellent.
CUET Document Checklist 2026
This is the section you’ll probably want to screenshot or bookmark. Let’s break it down category by category so nothing slips through the cracks.
Academic Documents
These are the non-negotiables. Every student appearing for CUET admission needs to have these ready:
- Class 10 Mark Sheet & Certificate — for date of birth proof and school board verification
- Class 12 Mark Sheet & Passing Certificate — the most critical document; must reflect your actual qualifying scores
- Class 12 Admit Card (if your result is awaited or provisional) — some universities accept this temporarily
- Transfer Certificate (TC) — issued by your last attended school/college
- Migration Certificate — required if you’re moving from one board or university to another
- Character Certificate — usually issued by your school principal or a gazetted officer
Important: If your Class 12 results are still awaited at the time of CUET document verification, carry a bonafide certificate from your school. Most universities allow provisional admission, but you’ll need to submit final marksheets within a deadline.
Identity & Address Proof
You’ll need at least one valid photo ID and one address proof:
| Document Type | Accepted For |
|---|---|
| Aadhaar Card | Identity + Address |
| Passport | Identity + Address |
| Voter ID | Identity + Address |
| PAN Card | Identity only |
| Driving Licence | Identity + Address |
| Ration Card | Address only |
Make sure the name on your ID matches exactly with the name in your CUET application form. Even a spelling difference — like “Priya” vs “Priyaa” — can flag your file for rejection.
Category / Reservation Documents
If you’ve applied under a reserved category, this is where you need to be extra careful. Category certificates have specific formats prescribed by the government, and an outdated or incorrectly formatted certificate will not be accepted.
- SC/ST Certificate — issued by the competent authority (Tehsildar or above); must be in the state government format
- OBC-NCL (Non-Creamy Layer) Certificate — must be recent; most universities require it to be issued within the last 6 months to 1 year
- EWS Certificate — issued for the current financial year; an old EWS certificate is typically not valid
- PwD Certificate — issued by a government medical authority or disability board
You can verify the correct format for your state’s caste/category certificates through your state government’s official social welfare department website.
Additional Documents
Depending on your situation, you may also need:
- Gap Year Affidavit — if there’s a break between Class 12 and your CUET attempt, universities may ask for a notarised affidavit explaining the gap
- Domicile/Residence Certificate — required for state quota seats or institutions that have a domicile-based reservation policy
- Sports/Extracurricular Achievement Certificates — if you’re applying under sports quota or need these for bonus marks
- NRI/Foreign National Documents — if applicable, including passport, visa, and overseas educational credentials
- Recent Passport-Size Photographs — usually 6–10 copies; check the specific size requirement (typically 3.5 cm x 4.5 cm, white background)
How Does the CUET DV Process Actually Work?
Now that you know what to carry, let’s talk about what happens when you walk in for verification (or log in, if it’s online).
- Step 1 — Counselling Registration After CUET results are out, participating universities open their counselling portals. You register, fill in your preferences, and wait for seat allotment.
- Step 2 — Seat Allotment Based on your CUET score and preferences, you’re allotted a seat. You’ll receive an allotment letter on the portal.
- Step 3 — Reporting for Document Verification Once you accept the allotment, you’re given a specific date and time to report for CUET document verification — either physically at the university or via an online upload portal.
- Step 4 — Submission of Documents You submit originals for verification and photocopies for the university’s records. For online processes, you upload scanned copies in the specified format.
- Step 5 — Scrutiny by the Admissions Committee Officials cross-check everything — name, date of birth, category, qualifying marks, subject combinations, and more. If something doesn’t match, you’re flagged.
- Step 6 — Fee Payment & Confirmation Once documents are verified and approved, you pay the admission fee to confirm your seat. Only after this step is your admission considered final.
Different universities have slightly different procedures. For example, Delhi University’s CUET-based admissions follow their Common Seat Allocation System (CSAS), the details of which are available on the official DU portal at du.ac.in. Similarly, Banaras Hindu University publishes its specific DV schedule and requirements on bhu.ac.in. Always check your specific university’s official website for exact timelines.
Format Requirements — The Details That Trip Everyone Up
Here’s something most guides don’t tell you: having the right document isn’t enough. It also needs to be in the right format. This is where a surprising number of students get tripped up.
For Physical Document Submission:
- Carry original documents + 2 sets of self-attested photocopies
- Self-attestation means signing across the photocopy with the words “Self-Attested” and the date — don’t just sign
- Documents should be in a proper folder, ideally arranged in the order mentioned in the verification checklist
For Online/Scanned Document Upload:
- Most portals accept PDF or JPEG formats
- File size is usually capped at 200 KB to 500 KB per document — compress your scans if needed
- Scan quality should be clear and legible — blurry uploads are rejected
- Photographs must be in colour, recent (taken within 6 months), and against a white background
Name & Date of Birth Consistency:
This is crucial. Your name and date of birth must be identical across all documents — Class 10 certificate, ID proof, CUET application form, and category certificate. If there’s even a minor inconsistency, carry an affidavit explaining the discrepancy, duly notarised.
Have Any Doubts?
Common Reasons Documents Get Rejected (And How to Avoid Them)
Let’s be honest — most document rejections are avoidable. Here are the most frequent ones:
- Name Mismatch Raj Kumar on the marksheet, Raj K. on the Aadhaar card. It sounds minor, but it’s one of the top reasons files get held up. Always carry a gazette notification or affidavit if your name has changed or differs across documents.
- Expired Category Certificate OBC-NCL and EWS certificates have a validity period. An OBC certificate from two years ago won’t work. Get a fresh one well before your verification date.
- Missing Attestation Photocopies that aren’t self-attested — or worse, not attested at all — are returned immediately. Don’t forget to sign and date every single copy.
- Incorrect Certificate Format Category certificates issued in an outdated or state-incorrect format are rejected. Verify the prescribed format with NTA’s official website at nta.ac.in or your specific university’s admission notice.
- Low-Quality Scans (for Online DV) Uploading a blurry photo of your marksheet taken on a bad camera is not the same as a proper scan. Use a scanner or a good scanning app, and check the clarity before uploading.
- Wrong Photograph Specifications Many students upload casual selfies or photos with coloured backgrounds. Verification committees are strict about this. Use a proper passport-size photograph with a white background.
- Subject Mismatch Some courses have specific subject requirements at Class 12 level. If your marksheet doesn’t show the required subjects, your application may not move forward — regardless of your CUET score.
What Happens If Your Documents Are Incomplete?
Don’t panic — but do act fast. Most universities have a short grace period (usually 2–5 days) during which you can submit missing documents. However, this is not guaranteed and varies by institution.
If your Class 12 result is pending at the time of verification, you may be offered provisional admission — subject to submission of your final marksheet by a specified date. This is common but comes with conditions. If your final result doesn’t meet the cutoff or if you fail to submit the documents in time, the provisional admission is cancelled.
In case of any discrepancy or emergency, reach out to the university’s admission helpdesk directly and in writing — always keep a record of your communication. NTA’s official helpdesk for CUET-related queries can be accessed at nta.ac.in.
How Career Plan B Helps
Career Plan B supports students in navigating the CUET document verification process with accuracy and confidence:
- Personalized Career Counselling: Helps students stay informed and prepared for university-specific DV requirements.
- Psycheintel & Career Assessment Tests: Guides course and college choices so documentation aligns with the right path.
- Admission & Academic Profile Guidance: Assists in building a strong profile and ensuring all paperwork is accurate and complete.
- Counselling & DV Support: Provides step-by-step help with document preparation to avoid errors that could cost a seat.
Get In Touch With Us
Frequently Asked Questions
Q1. Is CUET document verification the same for all universities? No. While the core documents required for CUET admission remain similar, each participating university has its own DV schedule, format requirements, and procedures. Always check your specific university’s official admission portal for exact guidelines.
Q2. Can I appear for document verification with a photocopy if I’ve lost my original marksheet? No. Original documents are mandatory for verification. If you’ve lost an original, contact your school/board immediately for a duplicate certificate. This process can take time, so start early.
Q3. My OBC certificate is 8 months old. Will it be accepted? It depends on the university. Many institutions require OBC-NCL certificates issued within the last 6 months. To be safe, get a fresh one before your verification date.
Q4. What if my name is spelled differently on different documents? Carry a notarised affidavit clarifying the name discrepancy, along with a gazette notification if available. Inform the verification committee proactively — don’t wait for them to flag it.
Q5. How many passport-size photographs should I carry? Carry at least 8–10 copies. It’s better to have more than fewer. Make sure they’re recent, on a white background, and the correct size (3.5 cm x 4.5 cm unless specified otherwise).
Conclusion
CUET document verification is one of those steps that doesn’t get talked about enough — until someone loses their seat because of it. The truth is, you’ve already done the hardest part by clearing the exam. Don’t let a missing attestation or an outdated category certificate undo all of that hard work. A little preparation goes a long way, and starting early — even a month before your expected DV date — gives you enough buffer to fix anything unexpected.
So go through this checklist carefully, get your documents in order, double-check the format requirements, and walk into that verification confident. You’ve earned your seat. Now make sure the paperwork says so too. And remember, if you ever feel stuck or overwhelmed during the admission process, you don’t have to figure it all out alone — the right guidance can make all the difference.